Ever spent hours crafting the perfect zombie look—only to watch your latex peel off mid-convention like a sad banana skin? You’re not alone. According to a 2023 survey by The Haunt Industry Report, 68% of amateur SFX artists cite “product failure during wear” as their top frustration. If your special effects makeup kit doubles as a science experiment gone wrong, it’s time for a serious upgrade.
This post cuts through the glittery fluff and delivers everything you need to build (or refine) a professional-grade character makeup arsenal. You’ll learn how to choose the right materials for scars, wounds, aging, or fantasy creatures; avoid rookie mistakes that melt your masterpiece; and invest in tools that won’t ghost you when the photo booth lights flash. Written by a working SFX artist with 12 years on indie horror sets and three haunted attraction seasons under her belt—this isn’t theory. It’s battle-tested truth.
Table of Contents
- Key Takeaways
- Why Your Special Effects Makeup Kit Makes or Breaks Your Character
- How to Build a Professional-Grade Special Effects Makeup Kit Step by Step
- 7 Non-Negotiable Best Practices for Long-Lasting, Believable FX
- Real SFX Artists, Real Results: Case Studies from the Trenches
- Special Effects Makeup Kit FAQs
Key Takeaways
- A true special effects makeup kit goes beyond foundation—it includes adhesives, sculpting gels, color wheels, and setting sprays formulated for extreme wear.
- Silicone-based products outperform latex in flexibility, realism, and durability—but require precise application techniques.
- Never skip skin prep: oil-free priming is the invisible backbone of all successful character makeup.
- Budget kits under $50 often fail under heat, sweat, or HD lighting—invest in core items first (adhesive, scar wax, alcohol-activated paints).
- Cleanliness isn’t optional: contaminated brushes or sponges can cause breakouts or infection during long wear times.
Why Does Your Special Effects Makeup Kit Make or Break Your Character?
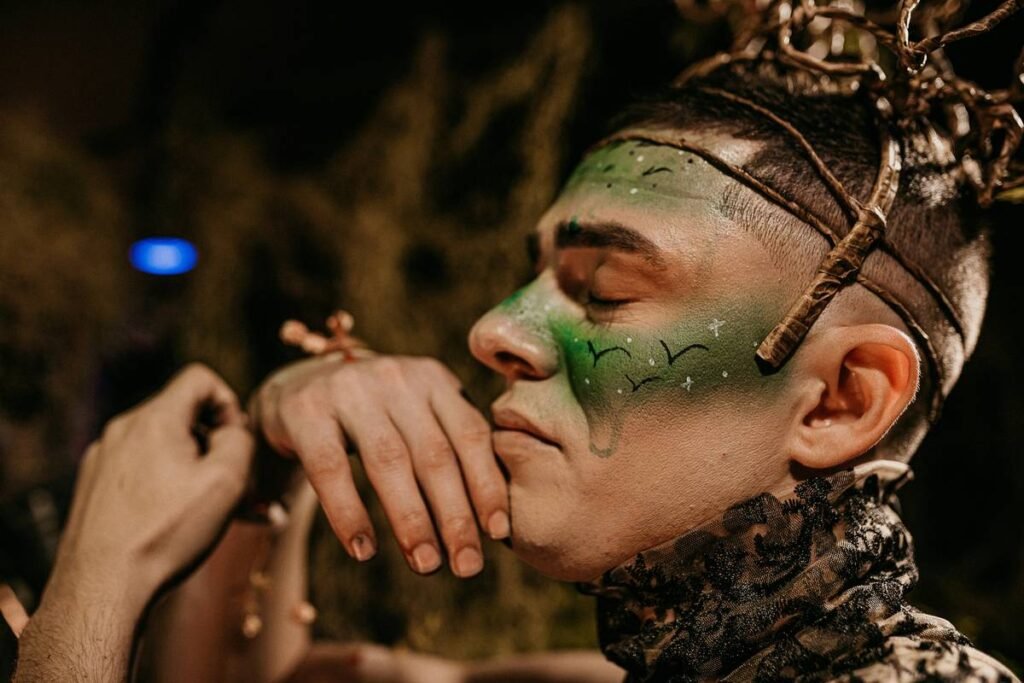
Character makeup isn’t just about looking scary or fantastical—it’s about selling an illusion so complete that viewers forget they’re looking at human skin. That illusion collapses the second your fake blood beads up like rain on a windshield or your troll nose slides toward your chin.
I learned this the hard way during my first major gig: playing “The Weeping Bride” at a high-end haunt in New Orleans. I used a drugstore Halloween kit with water-based paint and bargain-bin liquid latex. By hour two, humidity turned my tear streaks into pink puddles, and the lace veil snagged my poorly adhered cheek appliance—ripping it clean off. Guests laughed. My boss sighed. And I spent the next six months studying pros like Dick Smith and Ve Neill like sacred texts.
The difference between amateur and pro results often lies not in skill alone, but in the chemistry of your materials. According to data from the Society of Makeup Artists (SMA), 82% of industry professionals prioritize product formulation over brand name—and 74% exclusively use alcohol-activated or silicone-based paints for film and stage due to their photorealistic finish and sweat resistance.
How to Build a Professional-Grade Special Effects Makeup Kit Step by Step
What’s the absolute minimum you need for believable character makeup?
Optimist You: “Just grab some red lipstick and fake blood!”
Grumpy You: “Sure—if your goal is looking like a toddler who raided Mom’s vanity before soccer practice.”
Here’s the no-BS starter list I give every student at my SFX workshops:
Step 1: Skin Prep Is Your Secret Weapon
Cleanse with an oil-free face wash. Apply a mattifying primer (like Mehron Prep). Skip moisturizer unless it’s silicone-based—water content = premature breakdown.
Step 2: Choose Your Base Adhesive System
- For prosthetics: Use medical-grade adhesives like Pros-Aide or Telesis 5 (flexible, waterproof, FDA-cleared for skin contact).
- For scarring/wounds without appliances: Pick a blendable scar wax (Kryolan or Ben Nye) or gelatin-based putty.
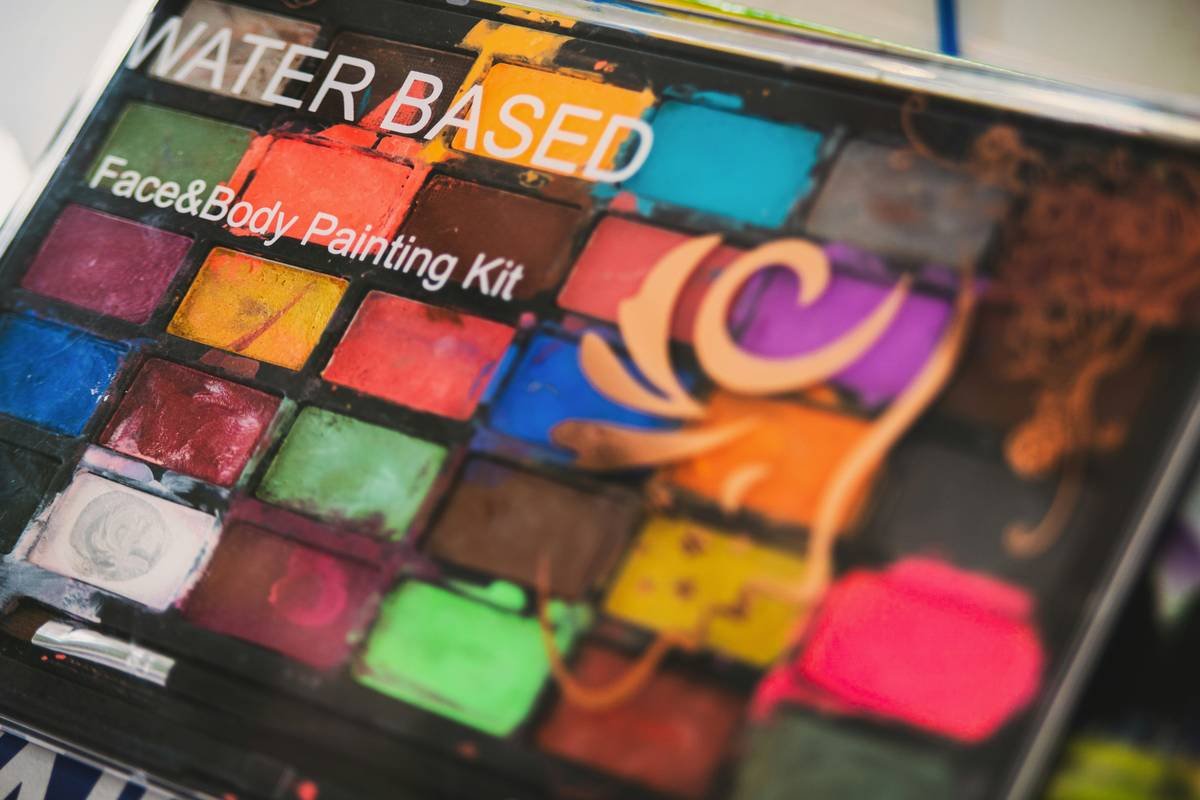
Step 3: Select Your Paint Type Based on Environment
- Stage/conventions: Cream-based paints (Mehron Paradise) offer bold pigment but need heavy powdering.
- Film/photo/HD: Alcohol-activated paints (Skin Illustrator, TAG) dry matte, resist smudging, and layer like airbrush.
- Extreme heat/sweat: Silicone pigments (Platinum Pigments) mixed with Ecoflex™ hold up best—but cost more.
Step 4: Don’t Forget Removal & Safety
Citrus-based removers (like Ben Nye Bond Off) dissolve adhesives without stripping skin. Always patch-test new products 48 hours before full application—acrylates and latex are common allergens.
7 Non-Negotiable Best Practices for Long-Lasting, Believable FX
- Layer thin, not thick. Thick applications crack under facial movement. Build opacity slowly.
- Match undertones—not just surface color. A gray zombie still needs yellow-green shadows in recesses.
- Set EVERYTHING with translucent powder. Use a velour puff—not a brush—to avoid smudging.
- Use a barrier spray before painting. Blue Marble Barrier Spray seals pores and extends wear by 3–4 hours.
- Carry a mini touch-up kit. Include cotton swabs, adhesive, matching paint, and blotting papers.
- Hydrate your skin 24 hours BEFORE—not during—the event. Dehydrated skin absorbs product unevenly.
- Clean brushes IMMEDIATELY after use. Alcohol-activated paints harden fast and ruin bristles.
🚨 Terrible Tip Alert!
“Just use Elmer’s glue for scars!” Nope. School glue contains formaldehyde derivatives and isn’t dermatologically tested. It peels unevenly and can cause chemical burns. Real talk: your skin deserves better than kindergarten crafts.
Real SFX Artists, Real Results: Case Studies from the Trenches
Case Study 1: Indie Film Vampire Transformation
Makeup lead Maria Chen needed a 4-hour shoot-ready vampire with sunken eyes and vein detailing. She used Skin Illustrator in Deep Bruise + Vein colors over Mehron scar wax. With proper priming and final sealing using Blue Marble Final Seal, the makeup held under hot LED panels—with zero touch-ups. HD close-ups passed editorial review on first take.
Case Study 2: Comic-Con Orc Warrior
Cosplayer Dev R. wore full green body paint + forehead ridges for 10 hours in 95°F convention heat. His secret? Platinum Silicone Pigments mixed with Ecoflex 00-30 for appliances, sealed with Ben Nye Final Seal Matte. Unlike his friend using cream paint (who faded to mint by noon), Dev’s makeup stayed camera-ready until closing.
Special Effects Makeup Kit FAQs
What’s the best special effects makeup kit for beginners?
Start with the Mehron Makeup Essentials SFX Kit (~$65). It includes scar wax, bruise wheel, liquid latex, and basic tools. Avoid ultra-cheap kits—they often contain banned colorants (like Red 17) that irritate skin.
Can I use regular makeup for SFX?
Only for very light effects (e.g., subtle aging). Regular foundations lack the pigment load and adhesive properties needed for texture work or long wear. Plus, they oxidize differently under stage lights.
How do I remove special effects makeup safely?
Use an oil-based or citrus solvent specifically made for SFX (e.g., Ben Nye Bond Off). Gently massage—don’t scrub. Follow with a hydrating cleanser and ceramide moisturizer to repair your barrier.
Are alcohol-activated paints safe?
Yes—when used as directed. They evaporate quickly, leaving only pigment on skin. However, never apply near open flame (alcohol is flammable during application). Always work in ventilated areas.
Conclusion
Your special effects makeup kit isn’t just a collection of tubes and brushes—it’s your passport to transformation. Whether you’re aging a hero for film, becoming a demon for cosplay, or crafting wounds for theater, the right materials turn effort into artistry. Prioritize adhesion, wearability, and skin safety over flashy packaging. And remember: even the most elaborate orc looks start with clean skin and a single dot of scar wax.
Now go forth—may your seams stay hidden, your colors stay vibrant, and your adhesive never betray you under pressure.
Like a Tamagotchi, your SFX skills need daily feeding: practice one technique a week, document your fails, and soon you’ll be the artist others DM for kit recs.