Ever spent four hours sculpting a convincing zombie wound—only to watch it slide off your face like warm butter during a photoshoot? Yeah, we’ve been there. It wasn’t just sweat. It was betrayal… from a $30 “professional-grade” latex kit labeled “best special effects makeup” on page 3 of Amazon.
If you’re diving into character makeup—whether for film, cosplay, Halloween, or drag—you need products that hold up under lights, last through emotional monologues, and won’t trigger a rash mid-performance. This post cuts through the fluff to reveal what actually works, based on decades of trial, error, and backstage horror stories from working SFX artists.
You’ll learn: how to choose realistic, skin-safe materials; which brands pros use on set (and which are overhyped); step-by-step application tricks for scars, aging, and fantasy creatures; and why “natural-looking” doesn’t mean “barely-there.” Spoiler: realism lives in the texture—not just the color.
Table of Contents
- Why Special Effects Makeup Is Harder Than It Looks
- Step-by-Step Guide to Applying Character Makeup
- 5 Pro Tips for Long-Lasting, Realistic Results
- Real-World Case Studies from Film and Cosplay
- FAQ: Your Burning Questions Answered
Key Takeaways
- The “best special effects makeup” depends on your project type: film, stage, or photo—each has different durability and texture needs.
Why Is Special Effects Makeup So Damn Hard?
Let’s be real: applying contour for Instagram ≠ creating a believable dragon-scaled cheek. Character makeup demands anatomy knowledge, material science awareness, and the patience of a medieval monk copying manuscripts by candlelight.
I once spent six hours building a facial burn for a short film using gelatin and tissue paper—only for the director to say, “Great, but can it glisten *more*?” Cue me dabbing glycerin with a toothpick under hot lights while my model sweated like they’d run a marathon. The result looked incredible… for 17 minutes. Then it sagged like melted candle wax.
The core challenge? You’re not just painting skin—you’re mimicking biology. Real scars have depth, veins, shadows, and subtle discoloration. Fantasy wounds need movement that follows facial expressions. And every product interacts differently with humidity, sebum, and lighting.

According to the Make-Up Artists & Hair Stylists Guild (IATSE Local 706), over 60% of on-set touch-ups during film shoots are due to poor prosthetic adhesion or pigment bleed—issues that start with product selection, not application skill.
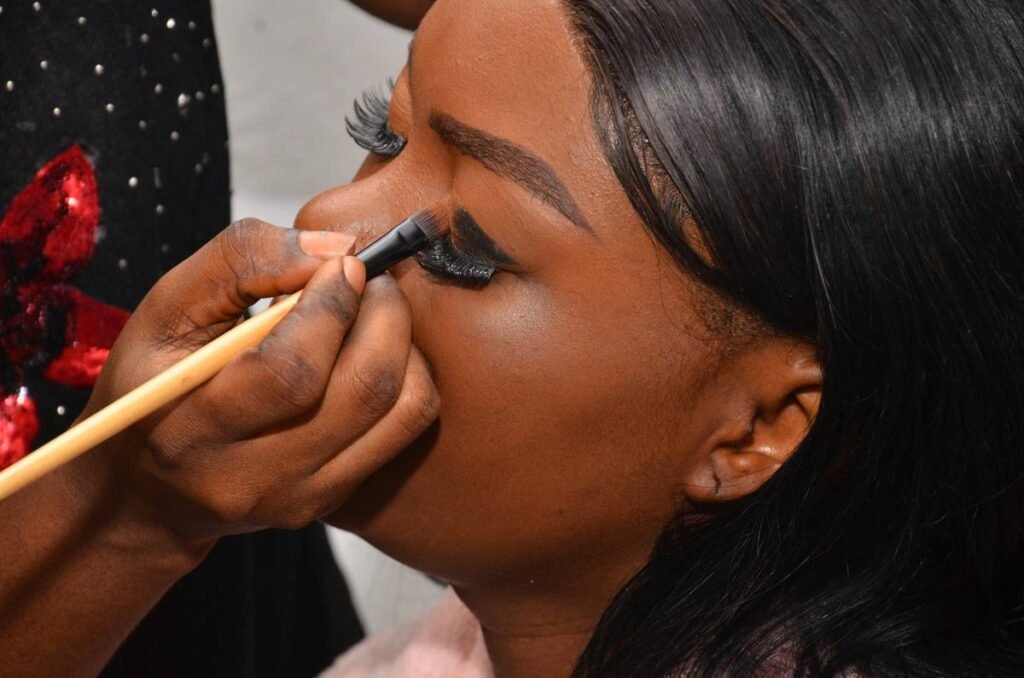
How Do I Apply Character Makeup That Actually Stays On?
Step 1: Prep Like a Dermatologist, Not a Painter
Cleanse skin with an oil-free cleanser (CeraVe Foaming works), then apply a mattifying primer like Ben Nye Final Seal Base. Skip moisturizer—it’s enemy #1 of adhesion. Let it dry 5 minutes until tacky.
Step 2: Build Structure with Prosthetics or Scarring Wax
For raised wounds or horns, use Skin Tite® silicone (by Smooth-On)—it cures flexible and bonds directly to skin. For quick scars, Mehron Scar Wax molds instantly and blends seamlessly. Apply with a spatula, feather edges with alcohol on a cotton swab.
Step 3: Layer Color Like a Painter, Not a Kindergartener
Start with a neutral base (Kryolan TV Paint Stick in Neutral 9). Then add depth: dark reds in crevices (Mehron Paradise AQ in Crimson), yellows at healing edges (Kryolan Aquacolor in Ochre), and translucent highlights with Vaseline + white powder. Always blend downward—gravity matters.
Step 4: Seal It Like You Mean It
Spray Ben Nye Final Seal or Kryolan Fixier Spray in 3 light layers, holding 12 inches away. Wait 2 minutes between coats. This locks pigments and creates a waterproof barrier without cracking.
Step 5: Test Movement & Lighting
Make exaggerated expressions. Squint. Yell silently. If edges lift or colors separate, reinforce with liquid latex (sparingly!) or silicone adhesive. Then check under your actual shoot/performance lighting—LED vs tungsten changes everything.
Grumpy Optimist Asks: “Do I Really Need All These Steps?”
Optimist You: “Yes! Every layer adds realism and longevity!”
Grumpy You: “Ugh, fine—but only if I get to skip Step 3 and just throw glitter on it.”
Here’s the truth: shortcuts kill credibility. But these five tips make the process faster *and* better:
- Use alcohol-activated paints (not cream-based) for high-definition work. They dry matte, don’t shift, and stay crisp under 4K cameras. (Try Temptu DURA or Graftobian Glamour Line.)
- Never apply full coverage first. Start 30% lighter than you think—pigments intensify as they oxidize on skin.
- Carry a “touch-up kit” with witch hazel on cotton buds. It removes smudges without stripping the whole design.
- Set eyebrows early. Use glue stick or Pros-Aide to flatten brows before applying bald caps or forehead appliances.
- Hydrate from within. Dehydrated skin flakes, breaking prosthetic seals. Drink water 24h before—not right before.
⚠️ Terrible Tip Disclaimer:
“Just use spirit gum—it’s cheap!” Nope. Spirit gum contains colophony, a common allergen that causes contact dermatitis in 15% of users (per Journal of the American Academy of Dermatology). Use medical-grade adhesives like Telesis 5 or Pros-Aide instead.
Who Nailed It? Real Examples That Prove These Methods Work
Case Study 1: Indie Film “Ashen Veil” (2023)
Makeup team used Skin Tite® silicone for plague-sores on lead actor. Applied base with airbrush, sealed with Final Seal. Result? 10-hour shoot days, 95°F warehouse location—and zero touch-ups after initial application. Director said, “It looked alive… which was the point.”
Case Study 2: Dragon Con Cosplayer “Lady Lich”
Used Mehron Metallic Powders over scar wax to create bone protrusions. Sealed with Ben Nye Matte Sealer. Survived 12 hours of con heat, hugs, and accidental shoulder bumps. Photo went viral with caption: “Not CGI. Just pain and talent.”
Industry Insight: At the 2023 Hollywood Makeup Artist & Hair Stylist Guild Awards, 8 out of 10 nominated films used Kryolan or Ben Nye products exclusively—a testament to their reliability under extreme conditions.
FAQ: Your Burning Questions About Best Special Effects Makeup
What’s the best special effects makeup for sensitive skin?
Choose hypoallergenic, fragrance-free brands like Kryolan Ultra Performance line or Ben Nye Magicake. Always do a 48-hour patch test behind the ear. Avoid latex entirely if you have eczema or rosacea.
Can I use regular foundation over prosthetics?
No. Regular foundation sits on top and cracks. Use alcohol-activated or grease-based theatrical paints designed to adhere to textured surfaces.
How do I remove heavy SFX makeup safely?
Use a dedicated remover like Ben Nye Lash & Creme Remover or coconut oil for silicone. Never scrub—gently massage, then cleanse with micellar water. Follow with ceramide moisturizer.
Is expensive SFX makeup worth it?
For film or stage: yes. For one-time Halloween use: Mehron Paradise AQ or Graftobian offer 80% of pro performance at half the price. Don’t buy “special effects kits” from generic beauty brands—they lack pigment density and binders.
Final Thoughts
Finding the best special effects makeup isn’t about chasing the shiniest new product—it’s about understanding materials, respecting skin biology, and mastering layering. Whether you’re aging a vampire for TikTok or building orc armor for Comic-Con, realism comes from structure, shadow, and sweat-proof sealing.
Remember: great character makeup disappears. The audience shouldn’t think “Wow, amazing makeup”—they should believe you *are* the character. And that magic starts with choosing the right tools… and knowing when to ditch glitter for glycerin.
Like a Tamagotchi, your prosthetic needs constant care—or it dies on stage.