
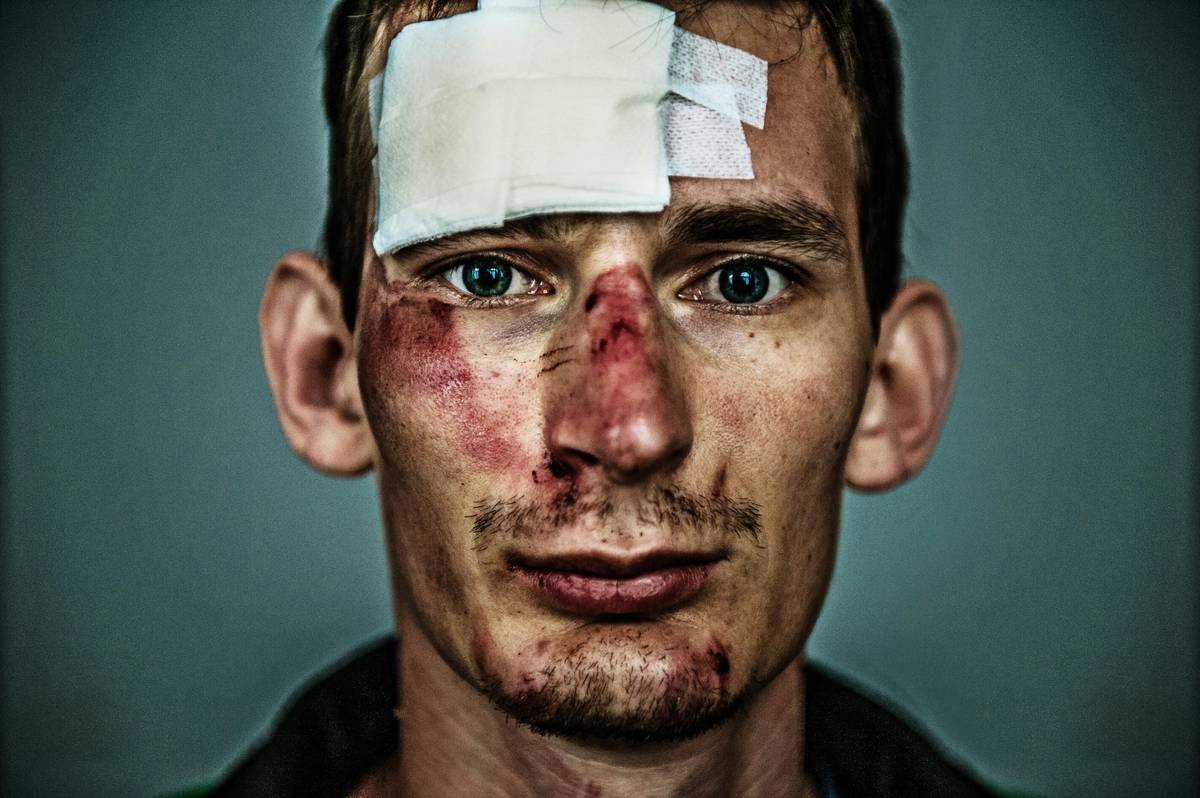
You spent hours layering liquid latex, sculpting scars, and painting bruising gradients—only to have your “gory wound” dismissed as Halloween store junk. The problem isn’t your effort. It’s that special effects makeup for wounds demands more than technique; it needs anatomical truth. Most tutorials ignore how skin tears under tension, how blood clots differently on forehead vs. forearm, or why fresh trauma never looks like red food coloring smeared on wax paper.
Why Your Wound Effects Look Fake (Even With Premium Products)
Real injury isn’t symmetrical. It’s chaotic—irregular edges, inconsistent depth, subcutaneous discoloration. Yet 90% of amateur FX artists replicate textbook diagrams, not biology. And they skip the single most critical step: context. A knife slash on a stunt double’s cheek after three takes won’t look like the first take. Sweat, movement, and lighting degrade realism fast.
Here’s the reality: if your wound doesn’t tell a story of force, angle, and time since impact—it’s just paint.
The Step-by-Step Guide to Anatomically Convincing Trauma
Map the Injury Like a Forensic Artist
Before applying anything, study reference photos of real lacerations—not movie stills. Note how skin puckers around puncture sites. Observe the yellow-green halo of a 48-hour-old bruise versus the deep purple of a fresh one. Sketch it lightly with eyeliner pencil directly on the actor’s skin.
Build Depth With Layered Scarring
Never sculpt a wound flat. Use gelatin or silicone to create a raised ridge mimicking torn dermis. Then carve into it with a sterile needle—not a brush—to simulate jagged tissue separation. Paint from bottom up: darkest reds deep inside, paling toward the surface.
Stage the Blood Strategically
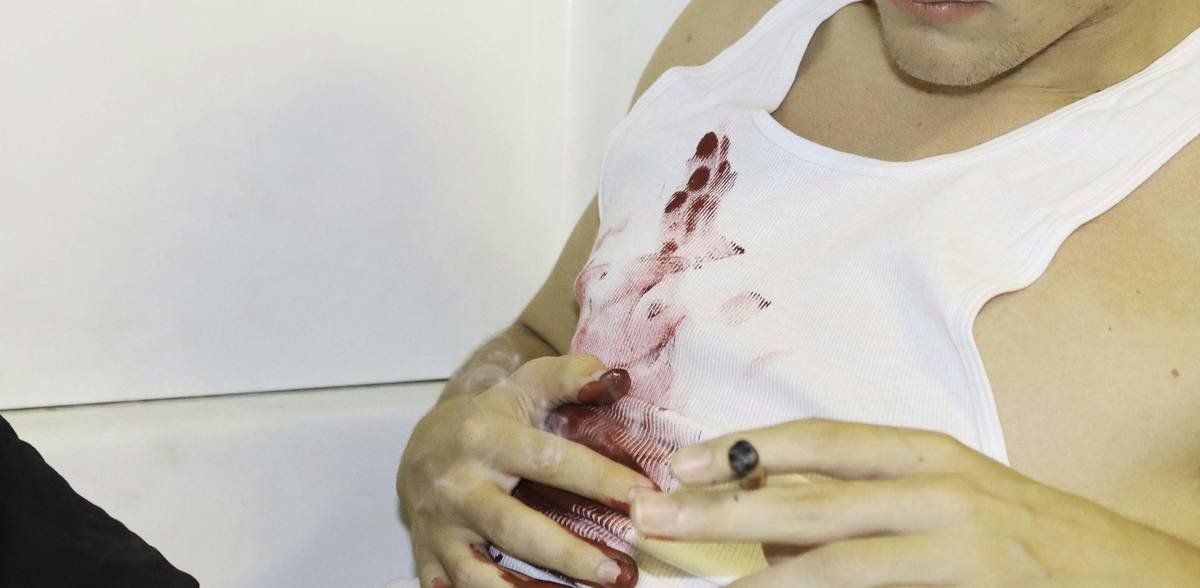
Fresh arterial spray is bright red and glossy. Old dried blood? Matte, flaky, brown-black at the edges. Mix glycerin with pigment for wetness; add cornstarch for crust. Apply less than you think—you can always add, but overdoing it screams “costume.”
| Material | Best For | Cost Range | Pitfall to Avoid |
|---|---|---|---|
| Gelatin | Deep gashes, burns | $5–$15 | Melts under hot lights—use setting spray |
| Medical-grade silicone | Long-wear prosthetics, scarring | $30–$80 | Requires mold-making skill; messy for beginners |
| Liquid latex | Shallow cuts, peeling skin | $8–$20 | Allergic reactions—patch test first |
| Wax-based modeling clay | On-set quick fixes, temporary ridges | $10–$25 | Shines unnaturally—dust with translucent powder |
The Industry Secret: Time Decay Is Your Co-Star
Hollywood’s best FX artists don’t just build wounds—they age them in real time. On set, they carry a “decay kit”: matte sealant to dull shine between takes, a stipple sponge for adding micro-scabs, even diluted saline to simulate weeping serum. But here’s what no tutorial admits: wounds evolve with performance. An actor sweating through an emotional scene should show moisture interacting with the makeup—not a static prop glued to their face. I once watched a lead tear up during a close-up; the DP insisted we let the “blood” streak slightly down her temple. That imperfection sold the shot. Perfection kills believability.
FAQ
How long does special effects makeup for wounds last?
With proper sealing, gelatin or silicone applications can endure 6–8 hours under studio conditions. Latex degrades faster—especially with movement or sweat.
Can you use household items for wound effects?
Corn syrup, cocoa powder, and toilet paper can mimic basic textures—but lack durability, safety, and nuanced color. Not recommended for professional shoots.
Is special effects makeup safe for sensitive skin?
Always patch-test 24 hours ahead. Avoid liquid latex on reactive skin; opt for medical silicone or alcohol-activated palettes instead.